...
- Request a new IAM User account from one of JCSDA’s AWS admins (a member of the JEDI infra team). If you are on JCSDA slack you can ask in jedi-infra-support otherwise you can email evanp@ucar.edu.
- You will be provided with a username, a one-time password, and a login-link.
- Visit the login link and log in. You will be prompted to change your password.
- You are now presented with the console home page.
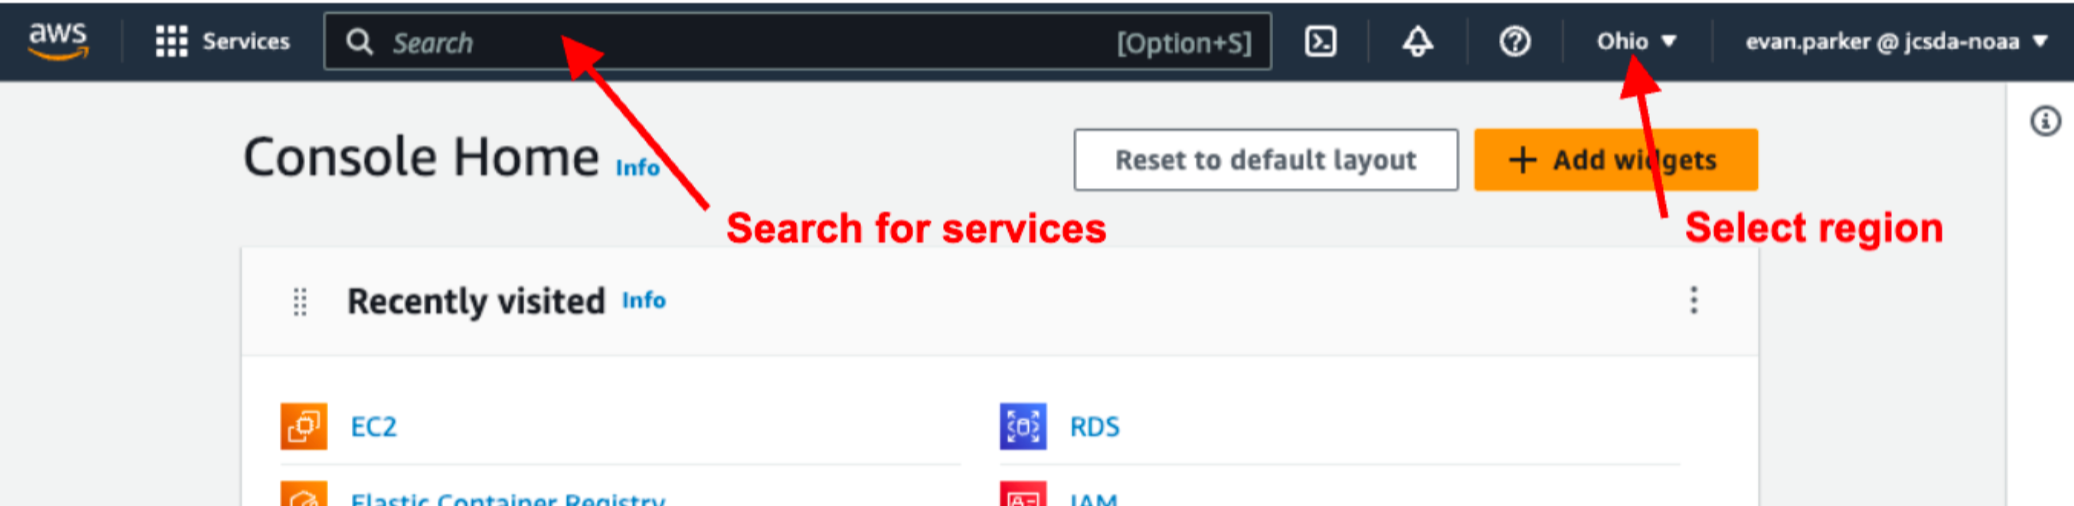
- Set your default region to “Ohio us-east-2” unless instructed otherwise.
- Set your default region to “Ohio us-east-2” unless instructed otherwise.
- Use the search bar to find the “IAM” console, this can be bookmarked by clicking the star.

- From the IAM page navigate to “My security credentials” which should be available under the “Quick Links” panel. You will see the following options:
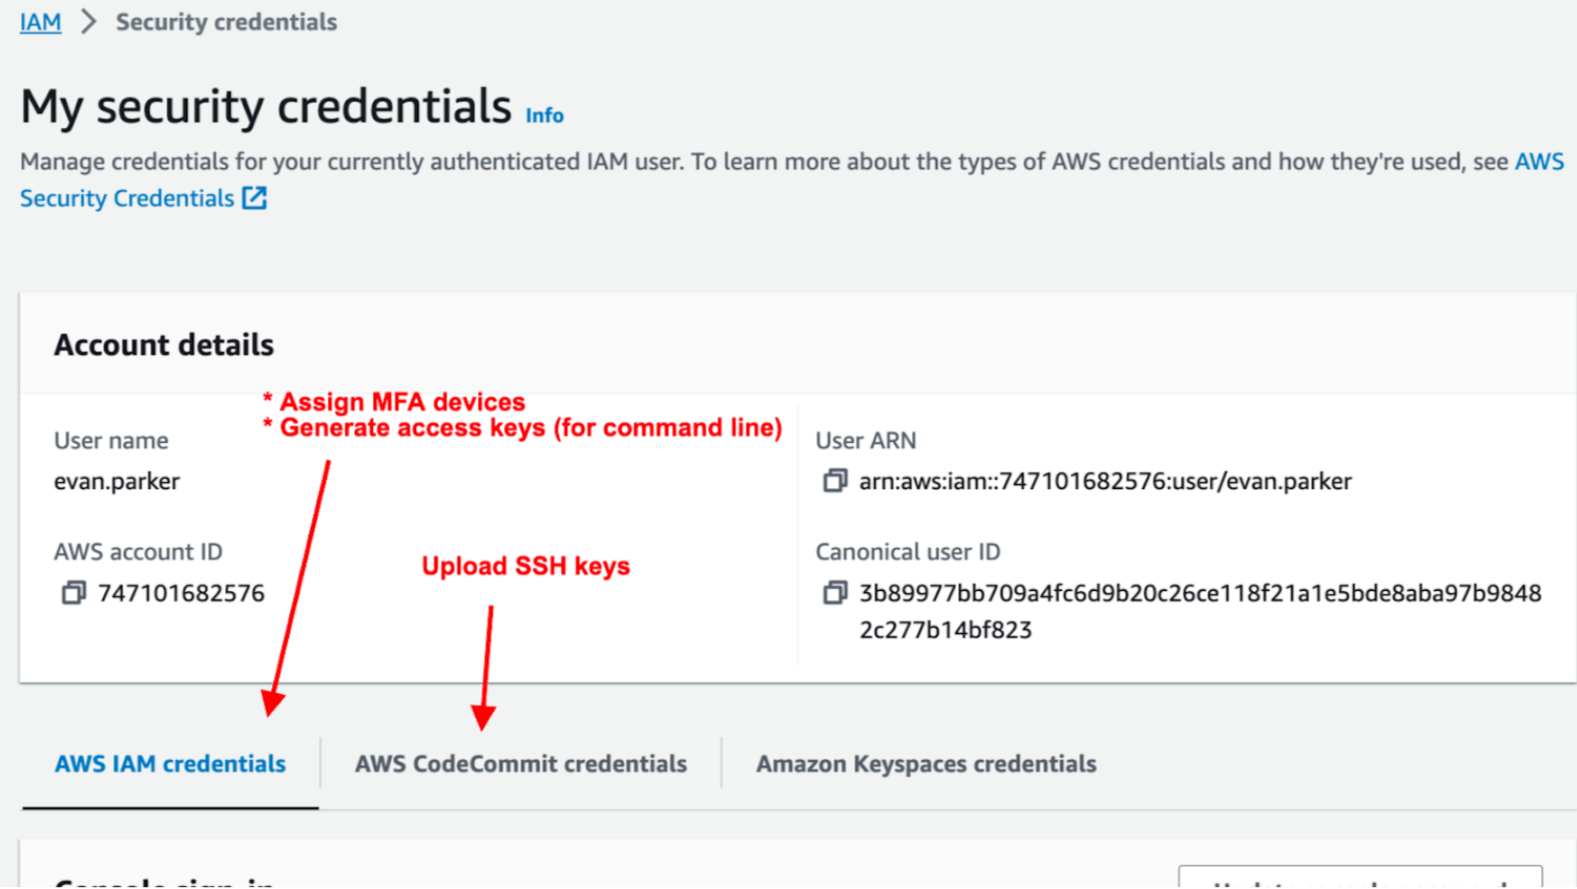
- From the “My security credentials” page, use the “AWS IAM Credentials” tab click “Assign MFA Device” and configure at least one 2-factor authentication method such as Duo on your phone, or a physical security key if you have one.
- From the “My security credentials” page, use the “AWS CodeCommit credentials” tab to upload your Public SSH key.
- If you already have a ssh key you should find the public key at ~/.ssh/id_rsa.pub.
- If you have a ssh private key at ~/.ssh/id_rsa but you don’t have a public key, you can use the keygen program to generate a public key This case can come up when users have already generated a private key from the AWS EC2 key service.
ssh-keygen -f ~/.ssh/id_rsa -y > ~/.ssh/id_rsa.pub - If you do not have a ssh key you can generate one at the shell using the command ssh-keygen. When asked for a password just press enter twice to generate a passwordless key (access to your computer will gate access to your ssh key). When the keygen is complete the program will output your key to the file ~/.ssh/id_rsa.pub.
...