...
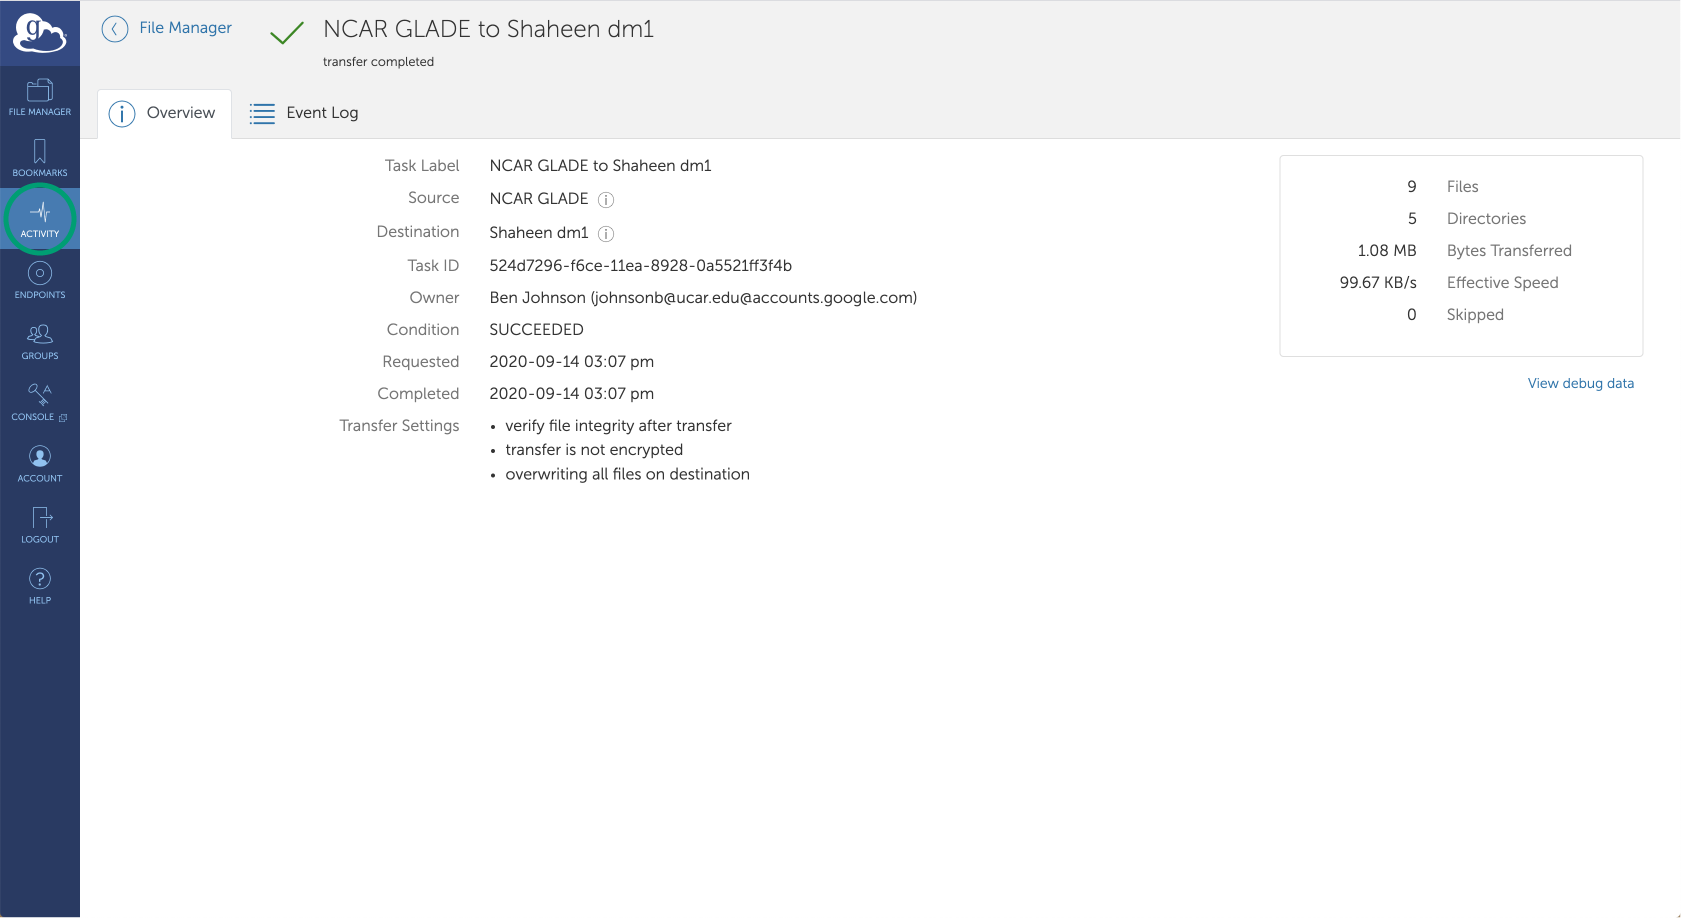
You can check on the status of transfers by using the "Activity" tab.
Creating a Personal Endpoint
...
Note: As of November 2022 these instructions are out of date. There is no longer an "Endpoints" icon in the navigation menu.
...
on your Laptop
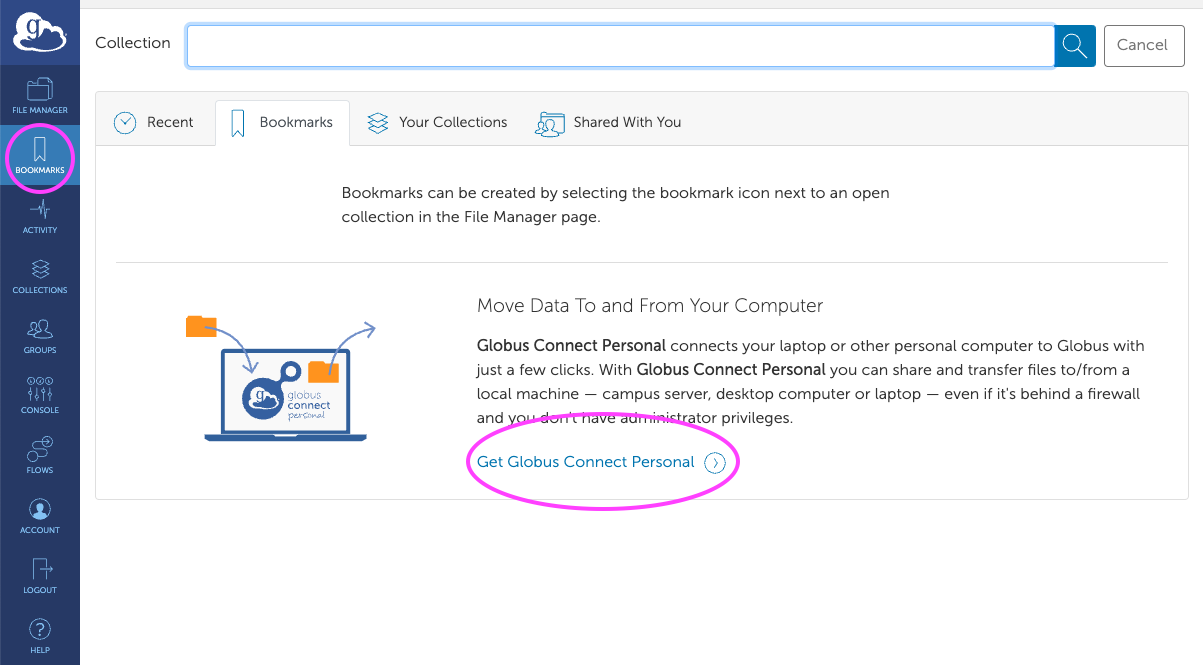
Select "Bookmarks" in the navigation menu and "
...
Get Globus Connect Personal."

...
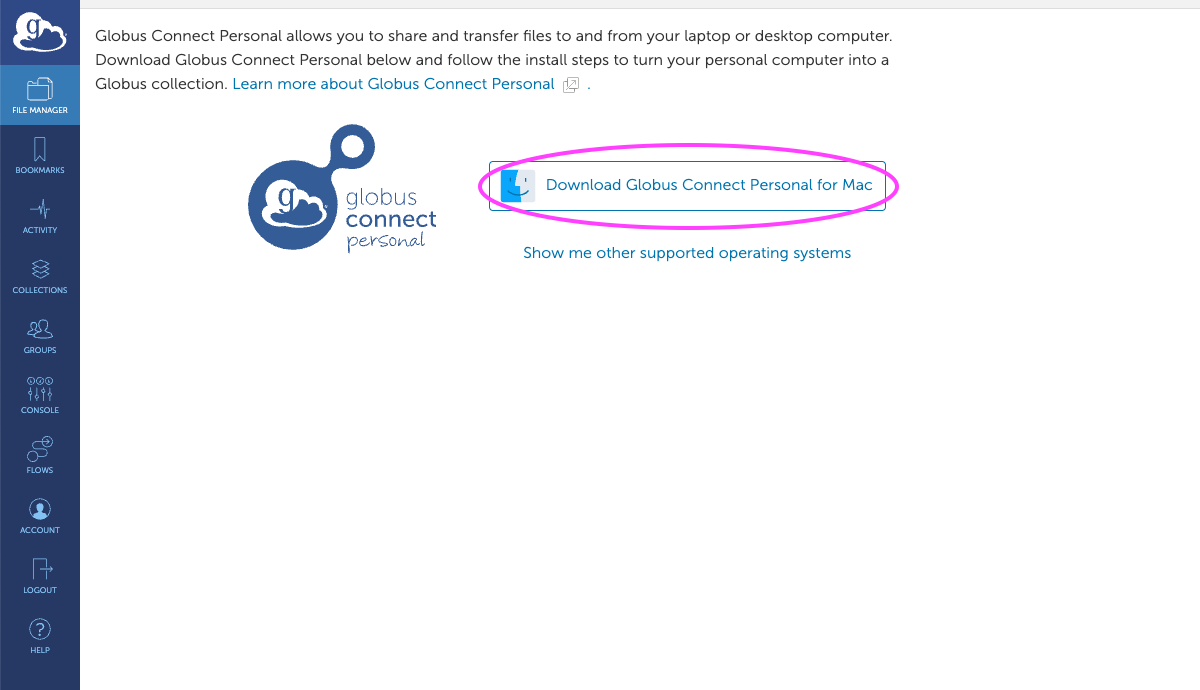
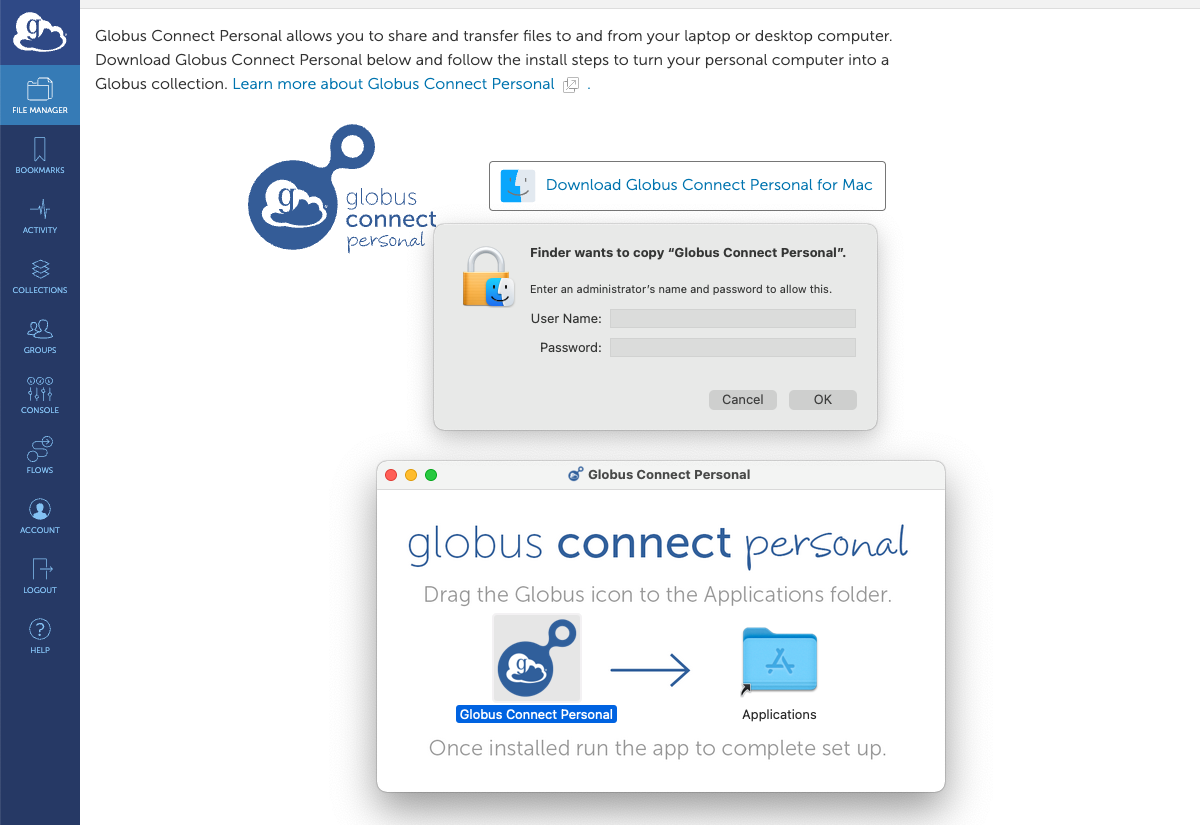
Select "Download Globus Connect Personal
...
."
...

Drag the Globus icon to your Applications folder and then authenticate with an administrator name and password.

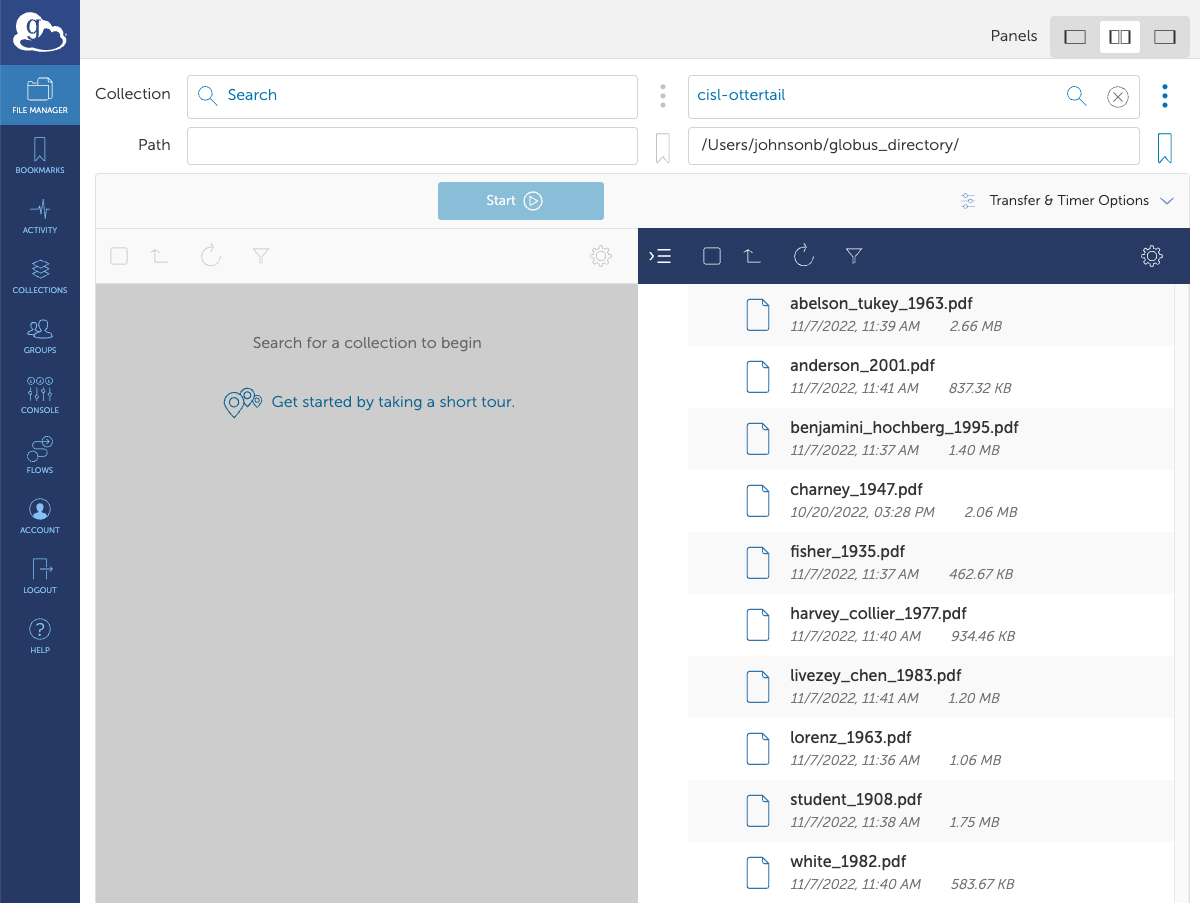
It's a good idea to provide a label that matches your my cisl-issued hostname for the computer. In my case this is cisl-ottertail.
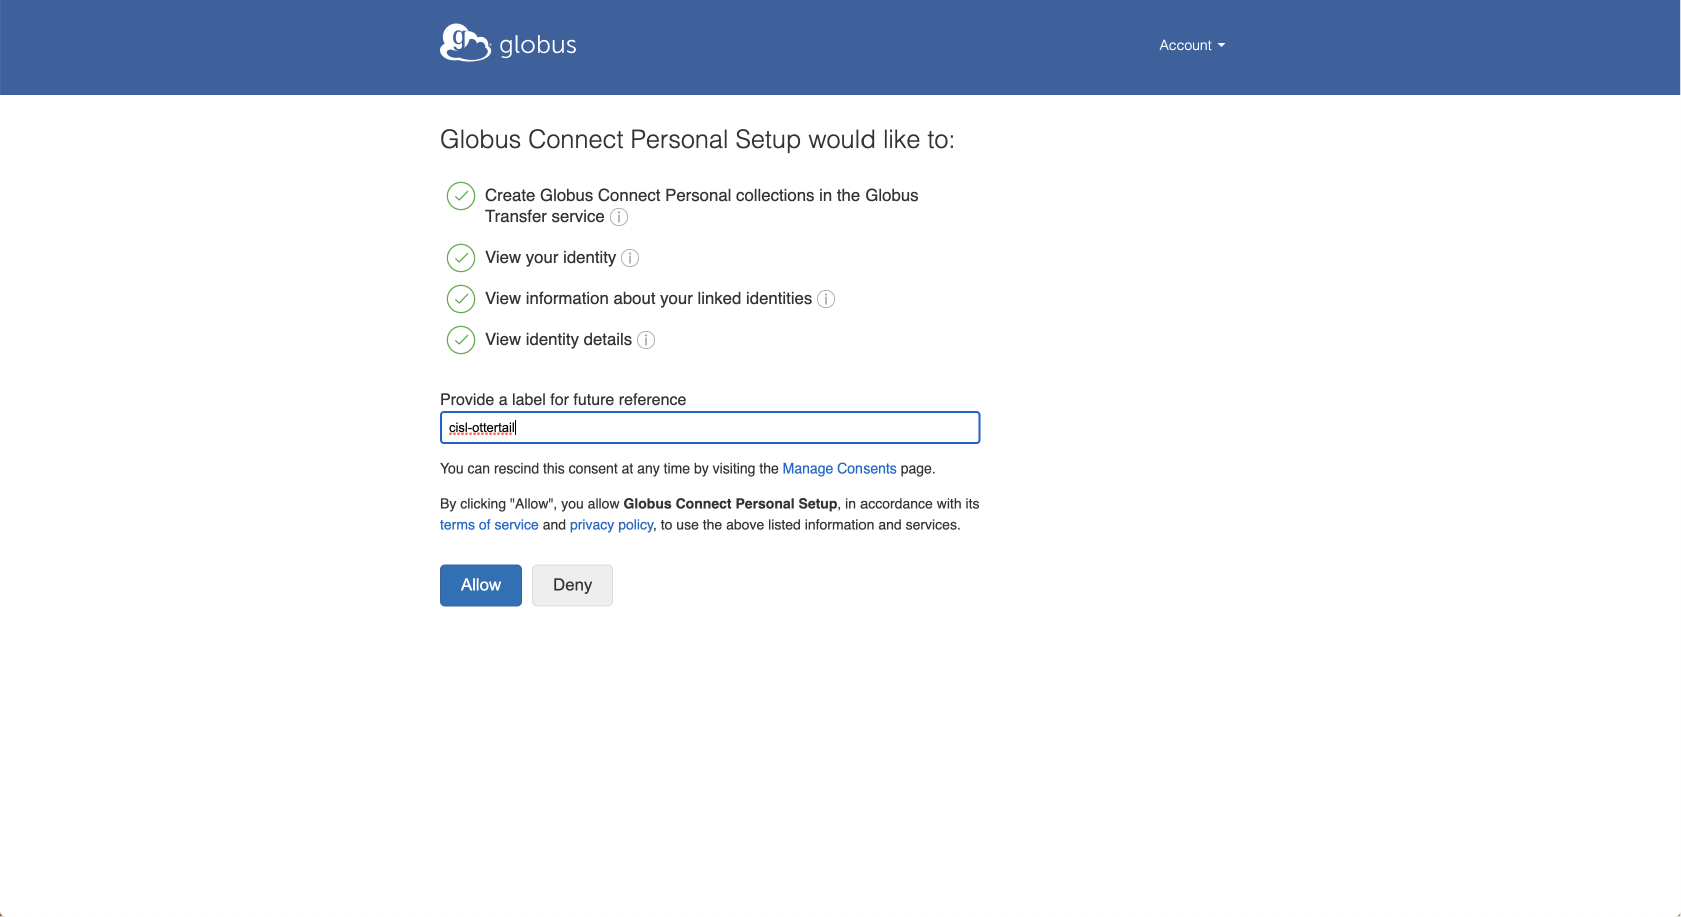
This part is a little redundant...enter the same thing for the "Collection Name" – in my case, cisl-ottertail.
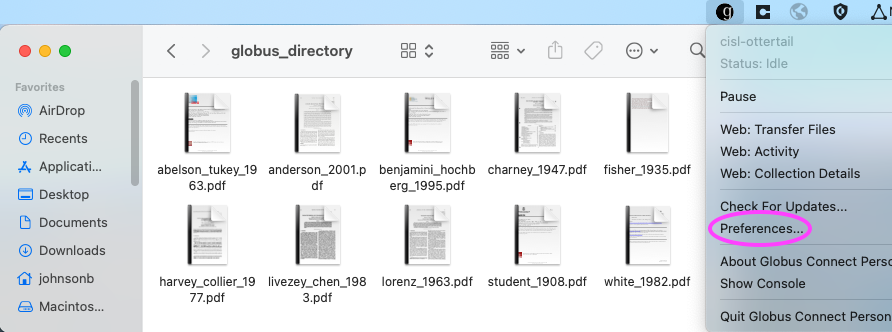
Once Globus Connect Personal is installed on your machine, activate the application. A small "g" icon should appear at the top of your MacOS screen near the time and date. Click on the "g" icon and select "Preferences."
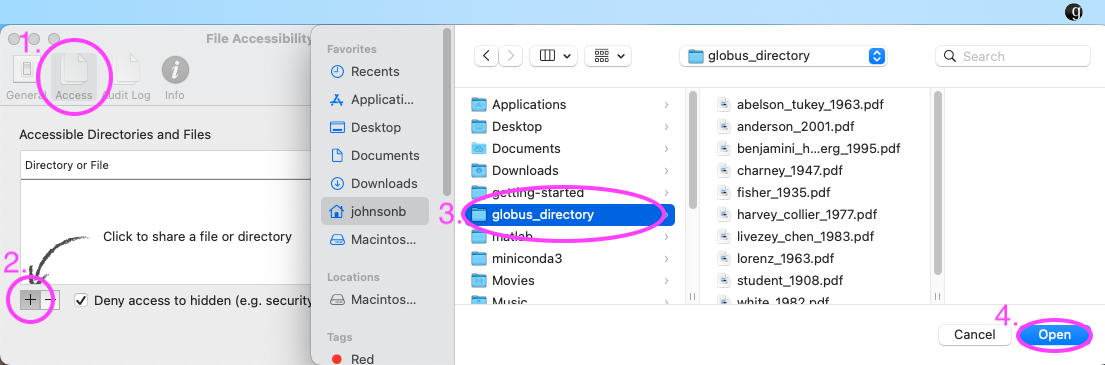
1. Click on the "Access" tab of the File Accessibility window that appears.
2. Click on the "+" sign to add a new directory that is accessible by Globus.
3. Select which directory you would like to be accessible by Globus (it doesn't need to be named globus_directory).
4. Click on "Open."
In the Globus Web App, select the "File Manager" icon in the navigation menu and then click on "Search" to find your computer.
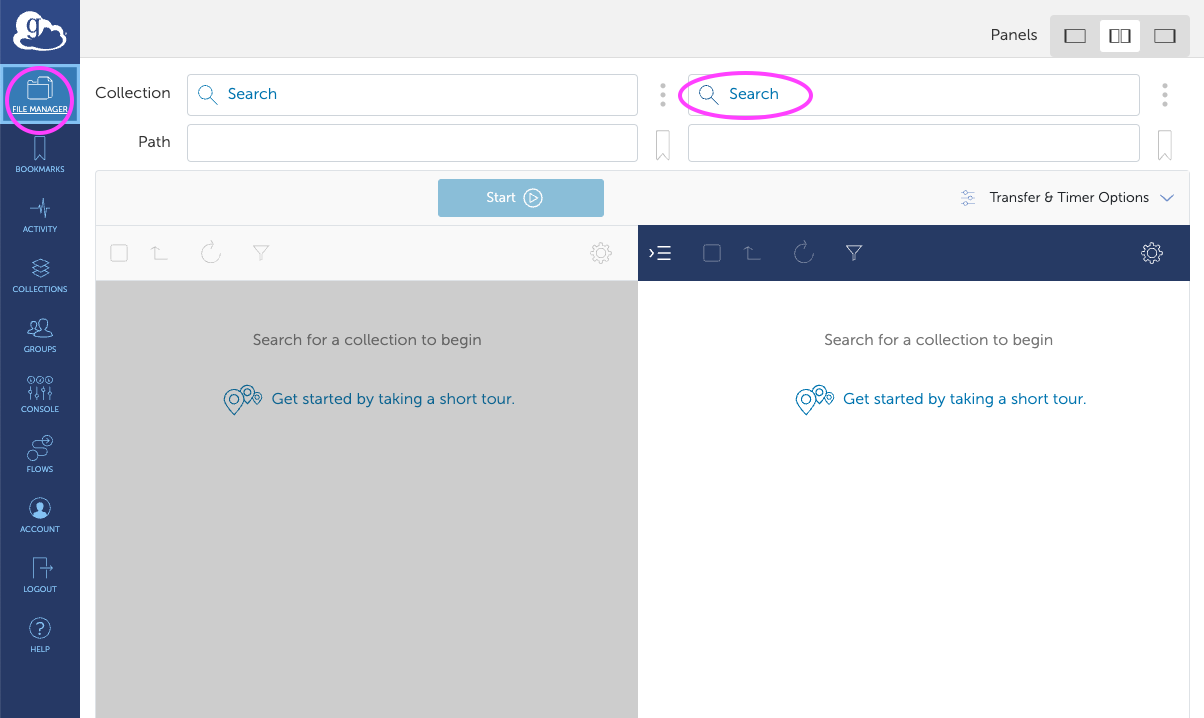
Click on your computer's hostname.
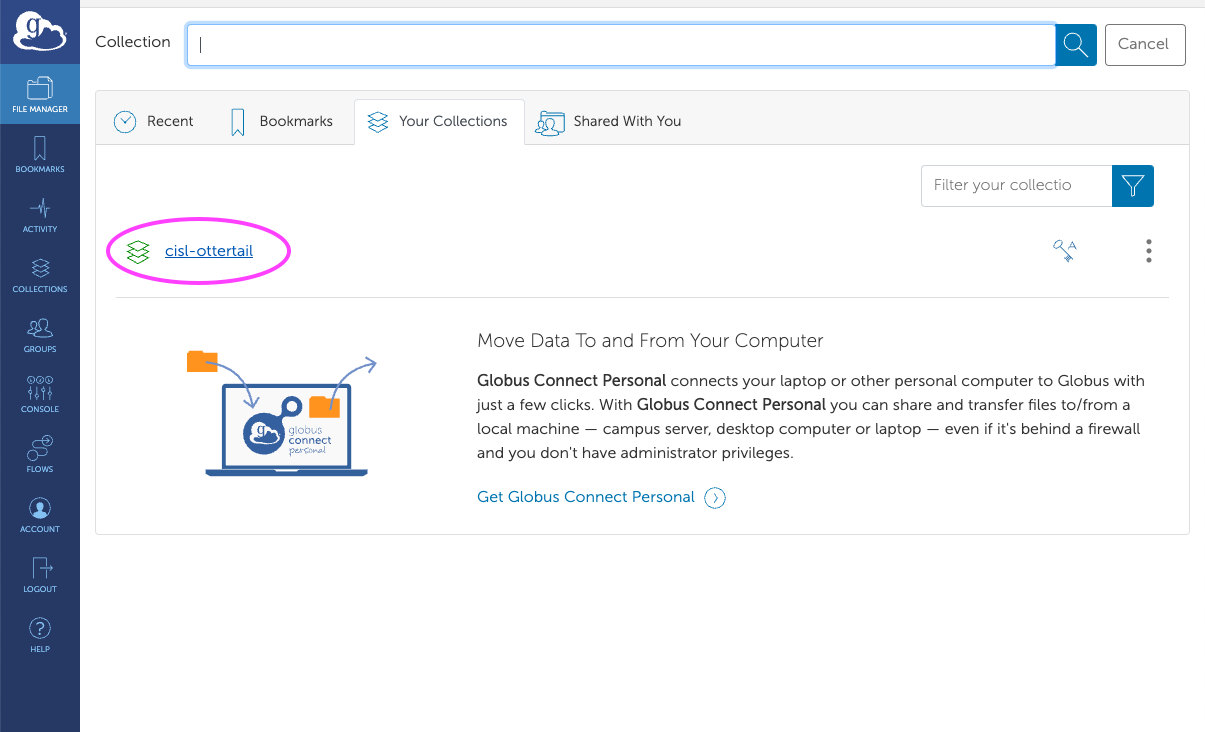

Your laptop can now be used as a Globus endpoint.